Imagine tearing into a warm, pillowy soft piece of bread, fresh from your oven, ready to scoop up your favorite dip or cradle a delicious filling. That's the joy of making the best authentic homemade pita bread. Forget dry, store-bought versions that lack character; crafting pita at home is surprisingly simple, requires just a handful of common ingredients, and delivers an unmatched level of freshness and flavor. This comprehensive guide will walk you through everything you need to know to create your own perfect pita pockets, transforming your meals with this versatile and deeply satisfying bread.
Embrace the Magic of Homemade Pita Bread
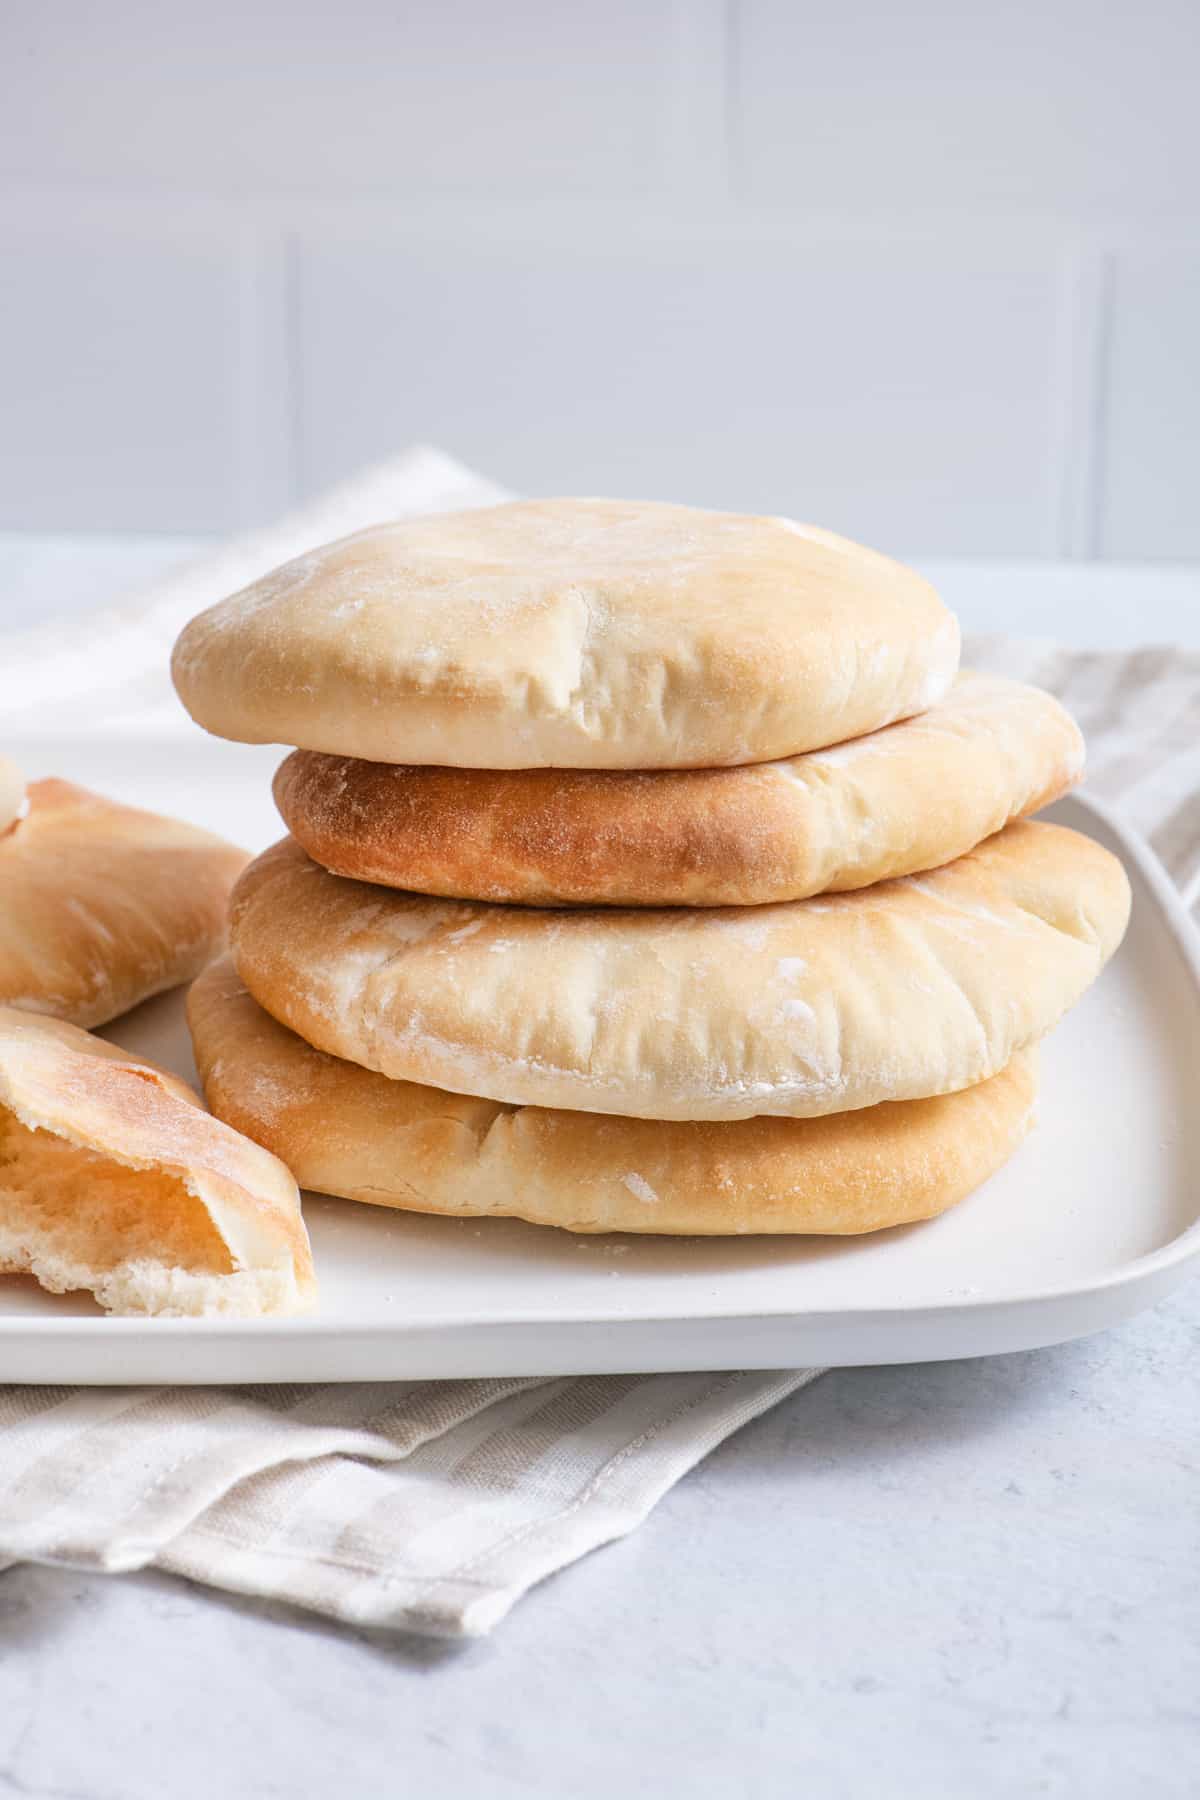
For many, pita bread is more than just a side; it's a cornerstone of Middle Eastern and Mediterranean cuisine, a staple for scooping vibrant hummus, building satisfying falafel sandwiches, or simply enjoying on its own. Growing up in places like Dearborn, Michigan, where authentic pita bakeries were plentiful, the standard for fresh pita was incredibly high. While machine-made, super-thin Lebanese pita might be a specialized craft, homemade pita offers a delightful thicker, chewier texture that is uniquely comforting and achievable in any home kitchen.
The difference between homemade and store-bought pita is night and day. Fresh pita boasts a soft, tender interior and a slightly chewy crust, with that irresistible yeasty aroma. It’s a flavor and texture sensation that store-bought varieties simply can't replicate, no matter how good they claim to be. Plus, the satisfaction of creating something so fundamental and delicious from scratch is truly rewarding. This isn't just a recipe; it's an invitation to elevate your culinary experience and enjoy Homemade Pita Bread: Unbeatable Freshness & Flavor (Better Than Store-Bought) with every single bite.
Unveiling the Simple Ingredients Behind the Best Authentic Homemade Pita Bread
One of the beauties of pita bread is its simplicity. You only need six fundamental ingredients, each playing a crucial role in developing its distinctive texture and flavor. Understanding these components will help you achieve consistent, perfect results every time you set out to make the best authentic homemade pita bread.
- Flour: All-purpose flour is your go-to here, making the recipe incredibly accessible. Its protein content is ideal for developing the necessary gluten structure for elasticity without being overly tough. For a chewier bite, you can experiment with bread flour, or for a heartier, more nutritious option, try substituting a portion with whole wheat flour.
- Yeast: Instant yeast is a baker's best friend for this recipe, as it typically doesn't require prior proofing and can be mixed directly with the dry ingredients. Its primary role is fermentation, which produces carbon dioxide gas. This gas gets trapped within the dough's gluten network, causing the pita to puff up dramatically in the oven and creating those iconic pockets.
- Sugar: A touch of granulated sugar isn't just for sweetness; it acts as food for the yeast, helping to activate it and kickstart the fermentation process. If you prefer, honey can be a wonderful substitute, adding a subtle depth of flavor.
- Salt: Essential for balancing and enhancing the flavors of all the other ingredients, salt also plays a part in controlling yeast activity and strengthening the gluten structure. Feel free to infuse your pita with extra aroma by adding ½ teaspoon of dried herbs like oregano, rosemary, or thyme along with the salt.
- Olive Oil: A staple in Mediterranean cooking, olive oil contributes a lovely flavor profile to the pita, making it richer and more tender. Beyond taste, it helps keep the dough moist and prevents it from drying out, contributing to the pita's characteristic softness.
- Water: The temperature of your water is paramount. Instant yeast thrives in slightly warm conditions, ideally between 120°F and 130°F (49°C to 54°C). Water that is too hot will kill the yeast, preventing the dough from rising, while water that is too cold won't activate it effectively. A simple kitchen thermometer is a worthwhile tool here.
Your Step-by-Step Guide to Perfect Homemade Pita Pockets
Making pita bread is a process that's both intuitive and immensely satisfying. Follow these steps for creating the most delightful, pocket-forming bread right in your kitchen.
- Combine and Mix: In a large mixing bowl, combine your yeast, sugar, salt, olive oil, and warm water. Give it a quick stir. Gradually add your flour, mixing with a wooden spoon or a stand mixer with a dough hook attachment. Continue adding flour slowly until the ingredients come together into a "shaggy" dough – a loose, somewhat sticky mass with no dry spots.
- Knead to Perfection: Turn the shaggy dough out onto a lightly floured surface. Knead vigorously for about 8-10 minutes (or 5-7 minutes with a stand mixer). You'll know it's ready when the dough transforms from rough to smooth, elastic, and no longer sticky, bouncing back slightly when poked. This kneading is crucial for developing the gluten that creates the pita's structure and allows for those famous pockets.
- First Rise: Lightly oil your mixing bowl, place the dough back in, and turn it once to coat. Cover the bowl with plastic wrap or a clean kitchen towel and place it in a warm, dark, draft-free spot. Let it rise for 60-90 minutes, or until the dough has doubled in size. This step allows the yeast to work its magic, filling the dough with air.
- Divide and Shape: Once risen, gently punch down the dough to release the air. Transfer it to a lightly floured surface and divide it into 12 equal pieces. For uniform pita, you can weigh them, aiming for about 2.5-3 ounces (70-85g) per piece. Roll each piece into a smooth, tight ball, tucking the edges underneath to create a taut surface. Cover the dough balls and let them rest for 10-15 minutes, which relaxes the gluten and makes them easier to roll.
- Roll 'Em Out: On a lightly floured surface, use a rolling pin to roll out each dough ball into a uniform 6-7 inch circle, about ⅛-inch thick. The key here is even thickness; uneven rolling can prevent the pita from puffing properly. Place the rolled-out pitas on lightly floured squares of parchment paper or a clean, floured kitchen towel, making sure they don't stick.
- Preheat and Bake: This is where the magic happens! Place a baking sheet or, even better, a pizza stone or steel, on the bottom rack of your oven and preheat your oven to 450-475°F (230-245°C). A hot surface is crucial for instant steam and quick puffing. Carefully transfer a rolled-out pita (or two, depending on your baking sheet size) onto the preheated surface.
- Witness the Puff: Bake for 2-4 minutes. You'll watch in awe as the pita quickly puffs up like a balloon. Flip it gently with tongs and bake for another 1-2 minutes, or until it's lightly golden brown and fully puffed. The rapid, high heat creates steam inside the dough, separating the layers and forming the pocket.
- Admire Your Work: Remove the hot pita from the oven, wrap it in a clean kitchen towel to keep it soft, and repeat with the remaining dough. Tear open one of your freshly baked rounds and marvel at your perfect Authentic Homemade Pita Bread: Easy 6-Ingredient Recipe Guide!
Expert Tips for Flawless Homemade Pita Every Time
- Dough Consistency is Key: Your dough should be slightly sticky to the touch, but not so sticky that it adheres to your fingers. Humidity can affect flour absorption, so adjust the amount of flour gradually until you achieve this ideal texture. It's better to have a slightly softer, stickier dough than a stiff one.
- Kneading by Hand: No stand mixer? No problem! Use a sturdy flat wooden spoon to mix the initial ingredients. Once the dough forms, turn it onto a well-floured surface and knead with the heel of your hand, pushing and folding the dough, for about 10-12 minutes until it's smooth and elastic.
- Even Rolling for Pockets: The secret to a perfect pocket lies in even rolling. If one side is thicker than the other, the steam might escape or only one side will puff. Aim for uniform thickness across the entire circle.
- Preheat Your Baking Surface: Don't skip preheating your baking sheet or pizza stone. A scorching hot surface provides the immediate burst of heat needed to create steam and achieve that magical puff.
- Storage and Freezing: Fresh pita is best enjoyed immediately. However, you can store leftover pita in an airtight bag at room temperature for 2-3 days. For longer storage, pita freezes beautifully. Once cooled, place them in a freezer-safe bag, separating layers with parchment paper if desired, and freeze for up to 3 months. Thaw at room temperature or warm directly in a toaster or oven.
Beyond the Pocket: Creative Ways to Enjoy Your Homemade Pita
Once you've mastered the best authentic homemade pita bread, the culinary possibilities are endless. Its versatility makes it a fantastic addition to almost any meal.
- Classic Dipping: The quintessential use for pita is scooping up creamy hummus, smoky baba ghanoush, or vibrant tzatziki. Its soft texture is perfect for gathering every last bit of dip.
- Sensational Sandwiches: Fill your fresh pita pockets with anything from falafel and fresh salad to grilled chicken, shawarma, labneh with za'atar, or even simple scrambled eggs for a hearty breakfast.
- Crispy Pita Chips: Cut stale or fresh pita into triangles, brush with olive oil, sprinkle with salt, pepper, and your favorite herbs (like za'atar or oregano), then bake until crisp for delicious homemade pita chips.
- Mini Pita Pizzas: Use pita rounds as an instant base for quick pizzas. Top with sauce, cheese, and your favorite toppings, then bake until bubbly.
- Accompaniment to Meals: Serve warm pita alongside salads, stews, shakshuka, or any vegetable-based dish. It's wonderful for soaking up rich sauces and gravies.
Making homemade pita bread is a rewarding experience that transforms a simple meal into something truly special. With just six ingredients and a little bit of patience, you can create the most authentic, soft, and delicious pita bread that rivals anything you'd find in a bakery. So, go ahead, get your hands in some dough, and prepare to delight your taste buds with the unparalleled freshness and flavor of your very own homemade pita. Your culinary journey awaits!
